1. Pre-assign an appointment
1.1 From the schedule view, click on Book beside the required appointment slot.
1.2 Click on Pre-assign (& invite online).
1.3 Enter the client's/participant's name and email address.
1.4 Tick the box beside Send invitation email now? > click Schedule.
1.5 The status of the appointment will now be updated to Pre-assigned.
2. Client/Participant Journey
2.1 The client/participant will receive an invitation email, advising them of the appointment that has been booked.
2.2 In the email there is a link: Click here to accept and register your account.
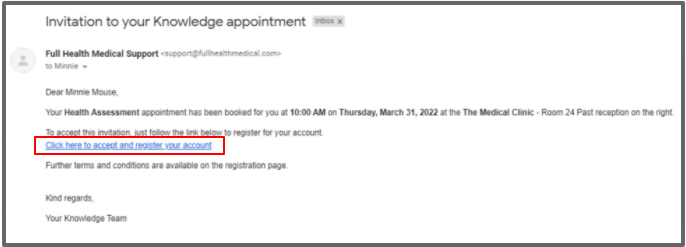
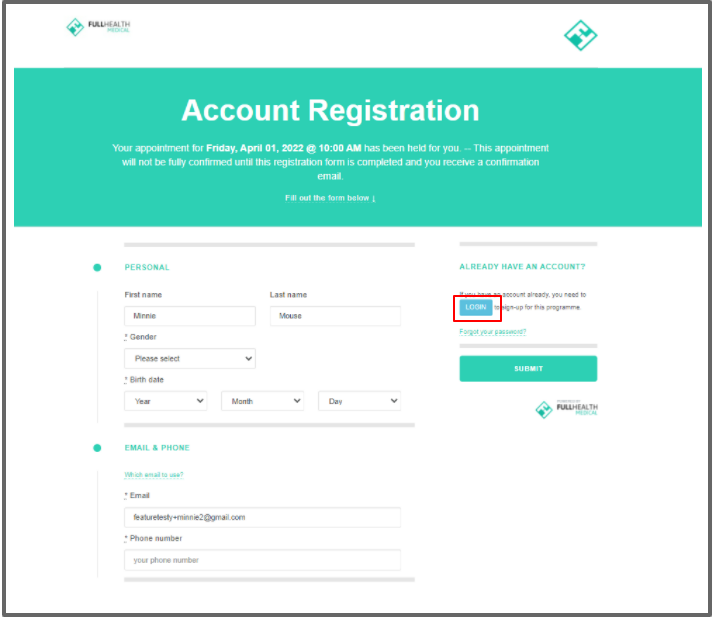
2.3 Clicking on this link will open the Account Registration page.
2.4 The client/participant enters their details and clicks on Next.

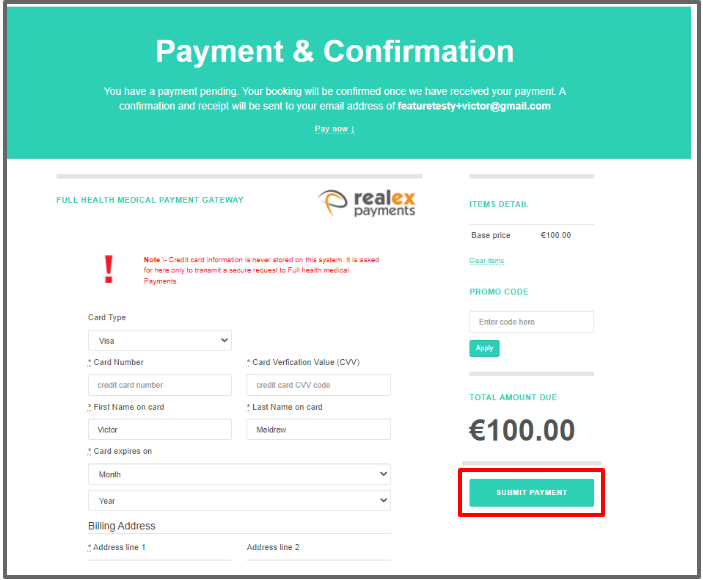
2.5 If online payments are associated with the medical, the client/participant is taken to the Payment & Confirmation page. Go to step 2.9 to continue the client/participant journey without an online payment.
2.6 The client/participant enters their payment details and clicks Submit Payment.
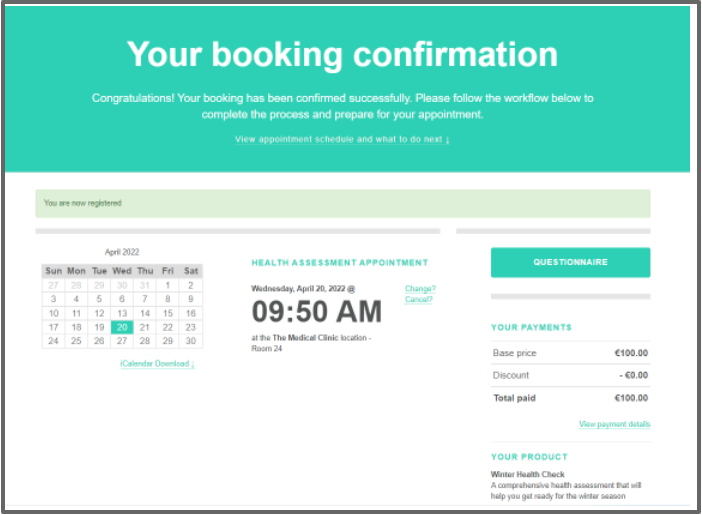
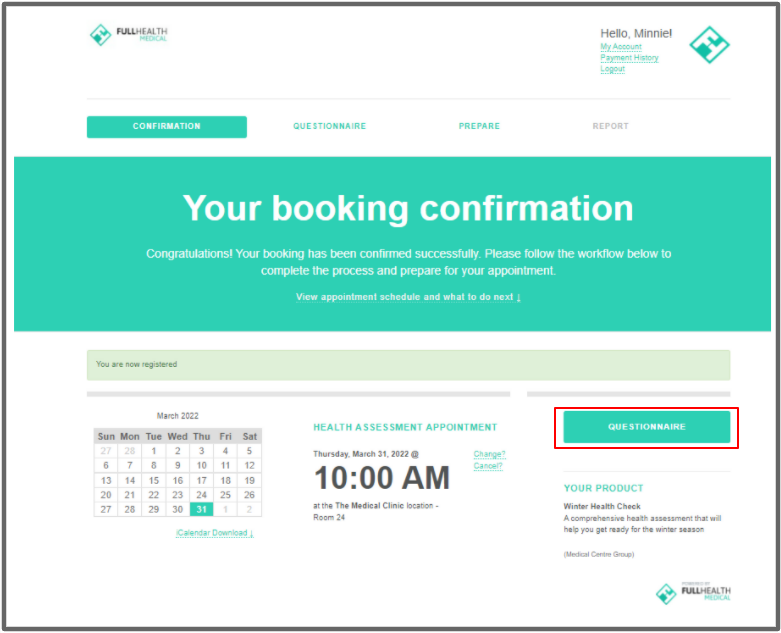
2.7 This will open the booking confirmation window.
2.8 The client/participant can now click on Questionnaire to complete the questionnaire in advance of their appointment.
2.9 This will open the Review & Confirm window. The client/participant must click on Confirm to confirm their appointment.
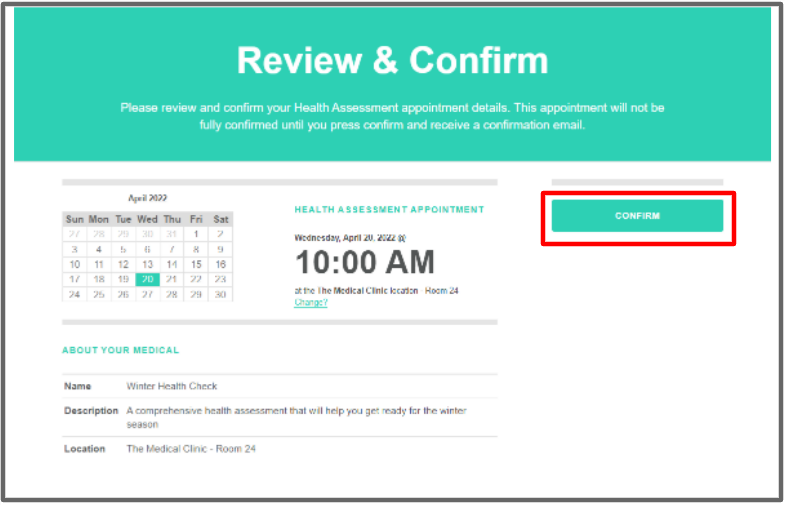
2.10 The client/participant can now click on Questionnaire to complete the questionnaire in advance of their appointment
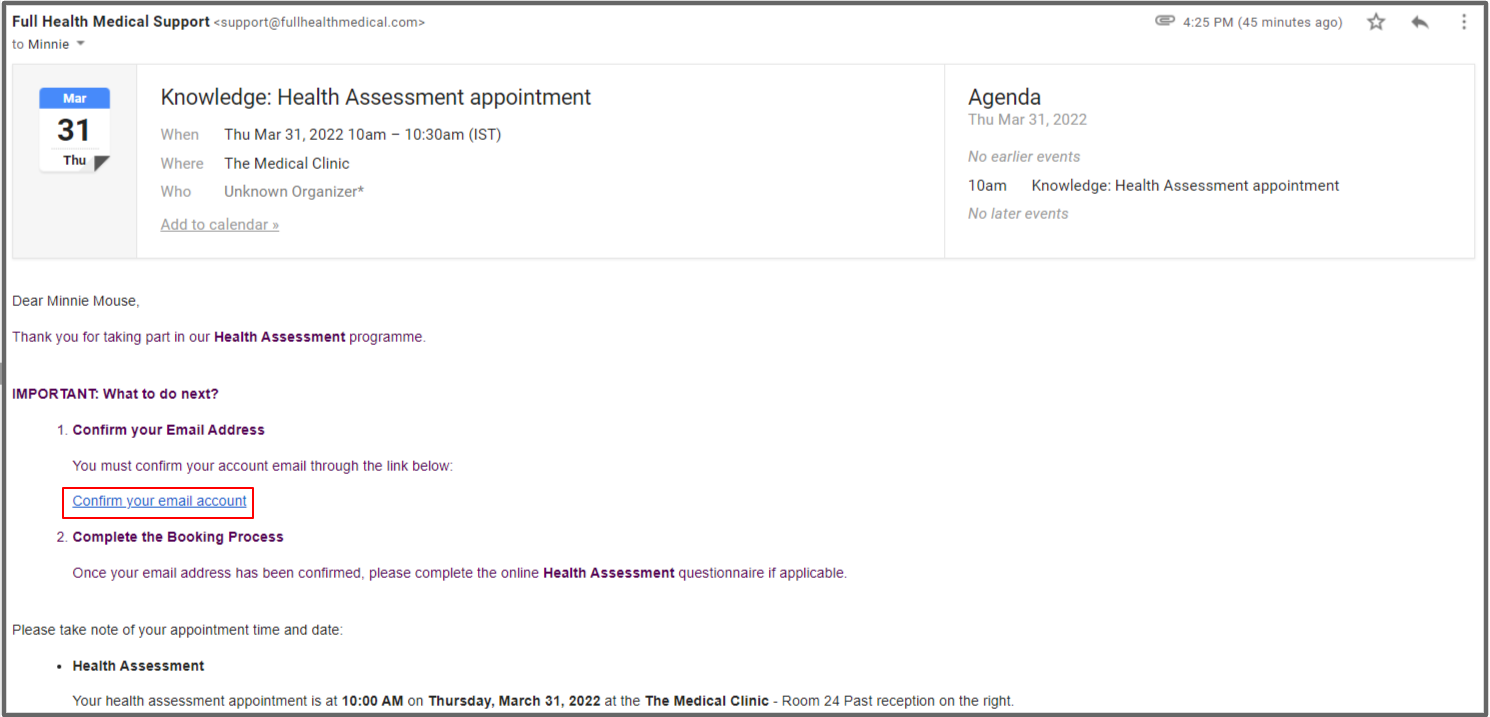
2.11 The client/participant will also be sent a booking confirmation email, with instructions on what to do next.
2.12 They will need to click on the Confirm your email account link in the email to confirm their online account.
2.13 The client/participant is reminded they will need to complete their questionnaire in advance of their appointment.
3. Provider View
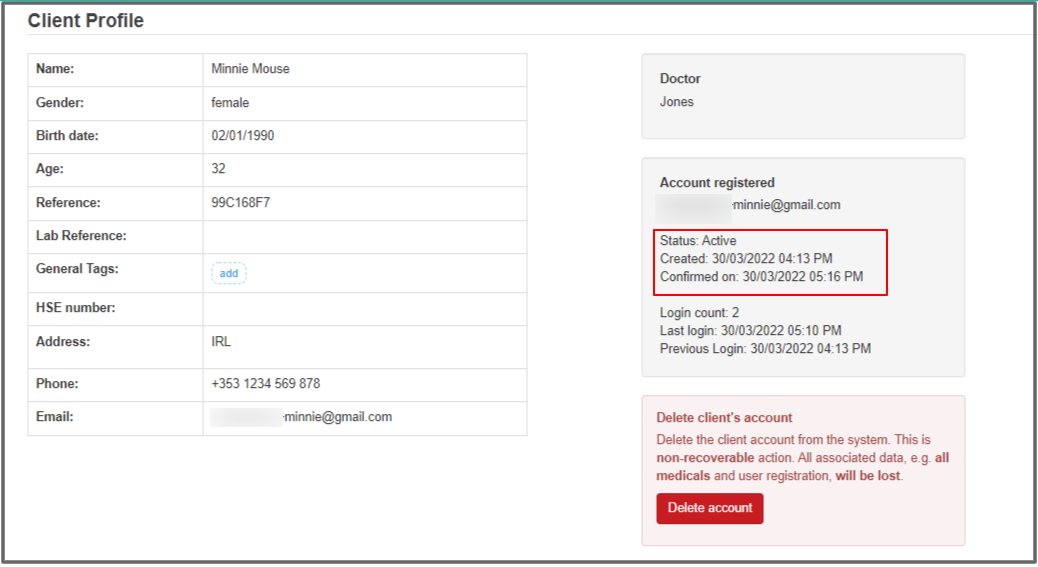
3.1 Once a client/participant has completed their registration and confirmed their booking, the appointment status will be updated to Booked.
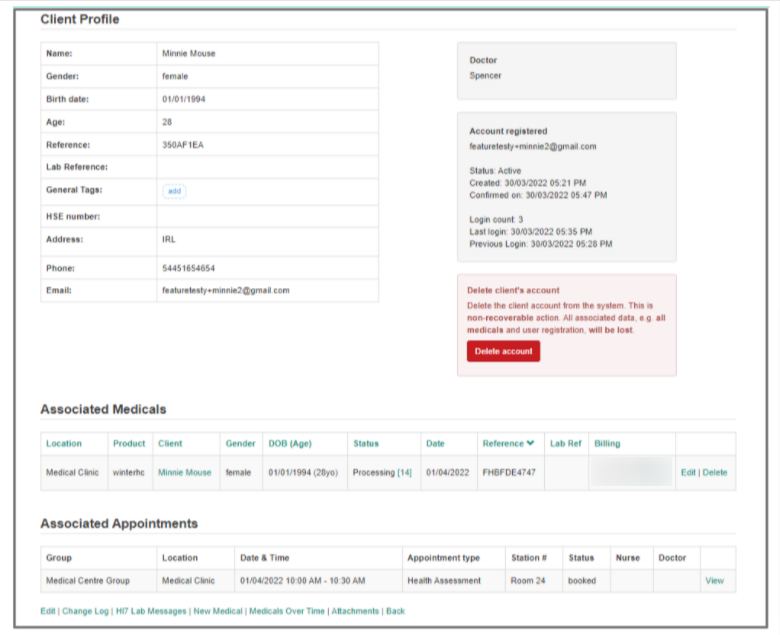
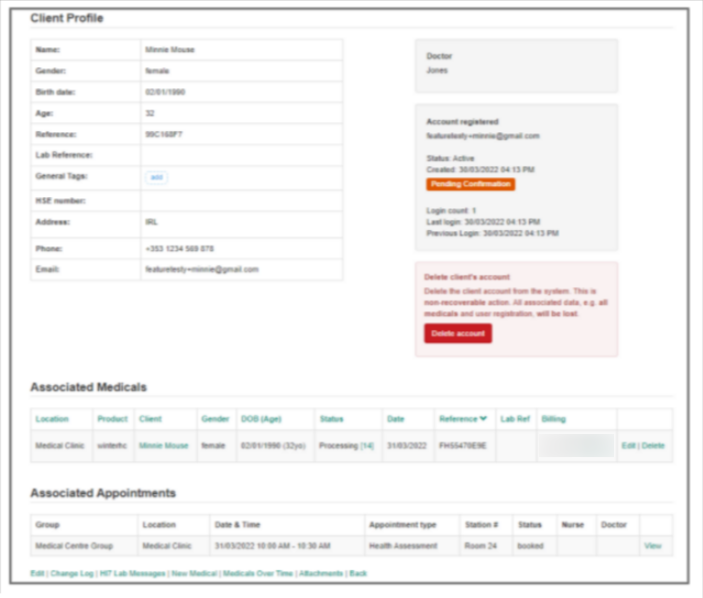
3.2 A client/participant profile will have been created from the details provided by the client/participant.
3.3 The Associated Medical and appointment will be listed on the client profile.
4. Troubleshooting
A client/participant has a profile but no associated Medical or Appointments
- If a client/participant reports issues during the registration process and their appointment has a status of Pre-assigned, search for a Client/Participant Profile.
- If a client/participant has a profile but no associated appointment or medical, this indicates the registration process was incomplete.
- If a client/participant did not complete the final step of the registration process, their appointment will remain with a status of Pre-Assigned.
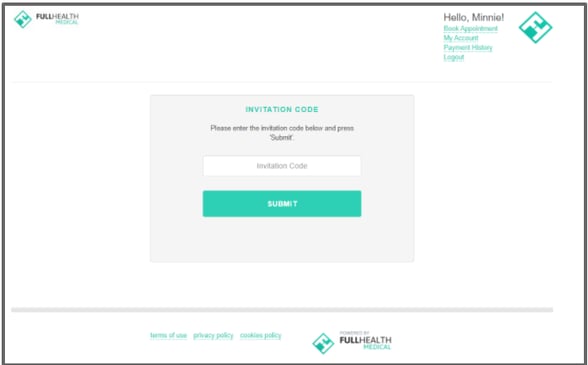
- If they try to log in to their account, they will be asked for an Invitation Code.
Solution 1 - inform client/participant how to complete booking:
- The client/participant will need to go back to their invitation email and click on the link to accept and register your account.

- As they have an existing Profile, this time the client/participant needs to click on Login.
- In the Review and Confirm window, the client/participant should click on Confirm.
- The booking will now be confirmed and the client/participant can proceed to complete their questionnaire.
- On the provider side the client/participant will now have an associated appointment and medical.
Solution 2 - complete the booking for the client/participant:
- From the schedule view, select the appointment time and change the status to Free.
- Click on Book.
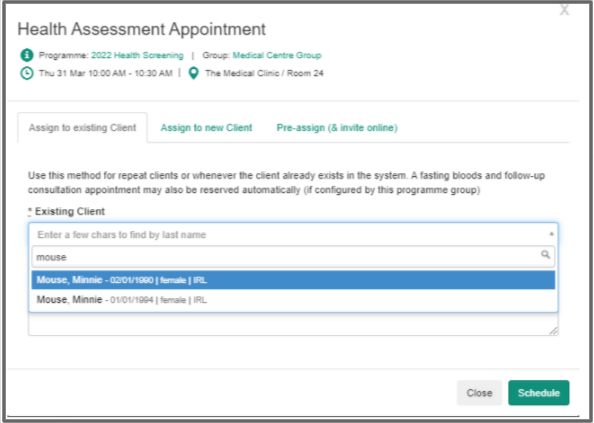
- From the Assign to Existing Client/Participant tab, begin typing the client's/participant's surname and select the required client/participant from the list.
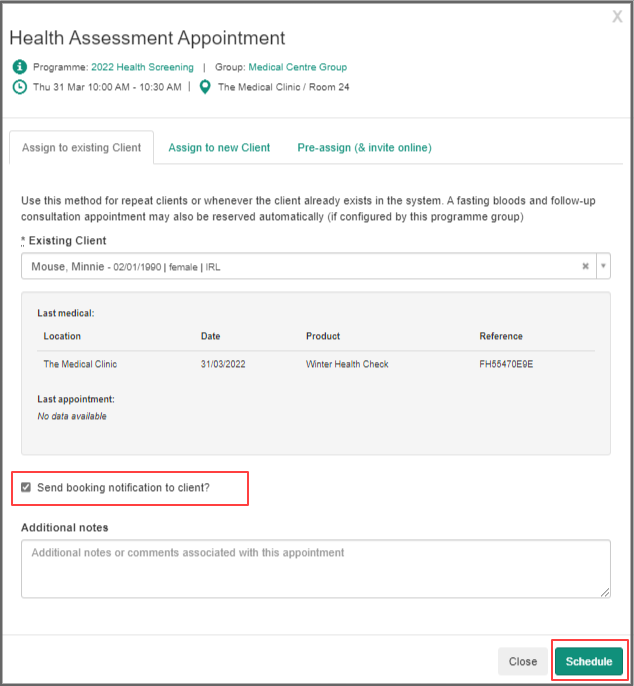
- Select Send booking notification to client/participant and click on Schedule.
- From the next window click on Create Medical.
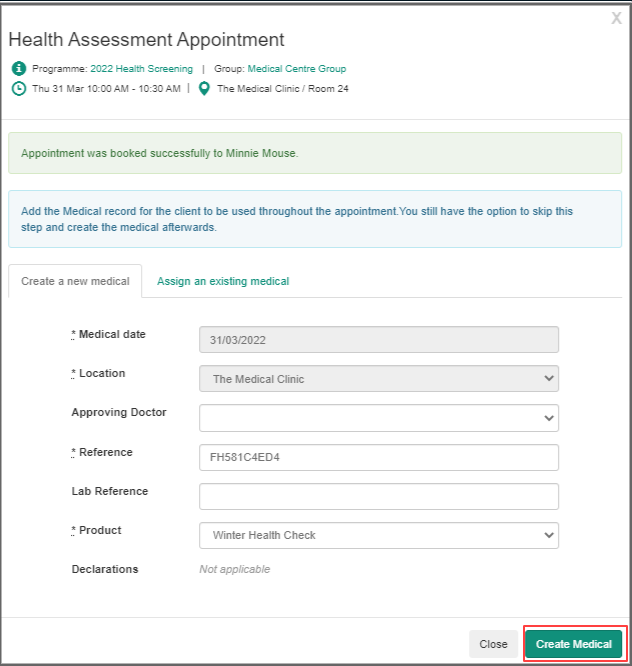
- The client's/participant's appointment will now be booked with an associated Medical.
A Client/Participant cannot access their online account / view their report
- An online account must be confirmed to enable a client/participant to log in and view their report.
- If the client/participant account has a status of Pending Confirmation, this indicates that the client/participant has not clicked on the link in the booking confirmation email to confirm their account.
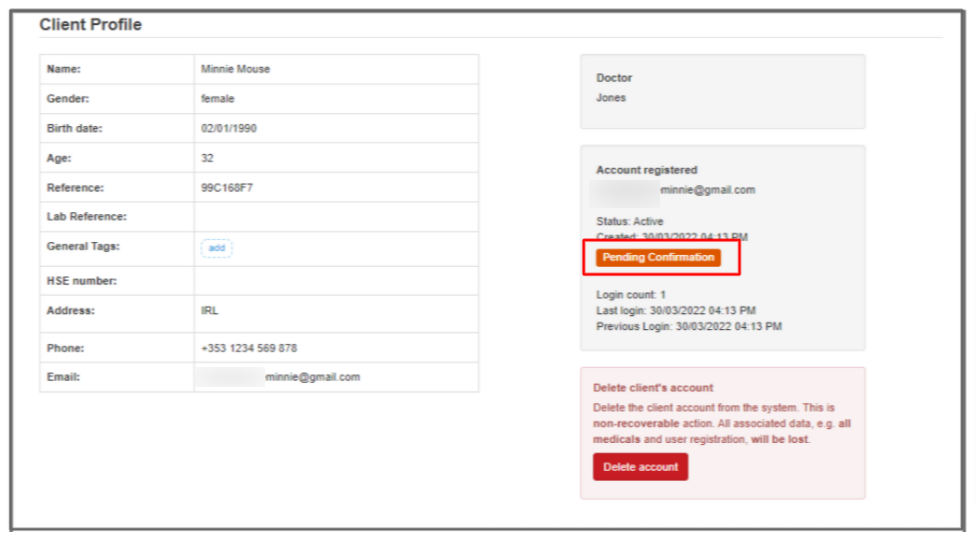
- Solution: Advise client/participant to review the booking confirmation email and click on the link to confirm their account.
- They should check their spam folder if an email has not been received.
The confirmation email link will expire after 7 days. A new one can then be requested from the client's/participant's profile page.
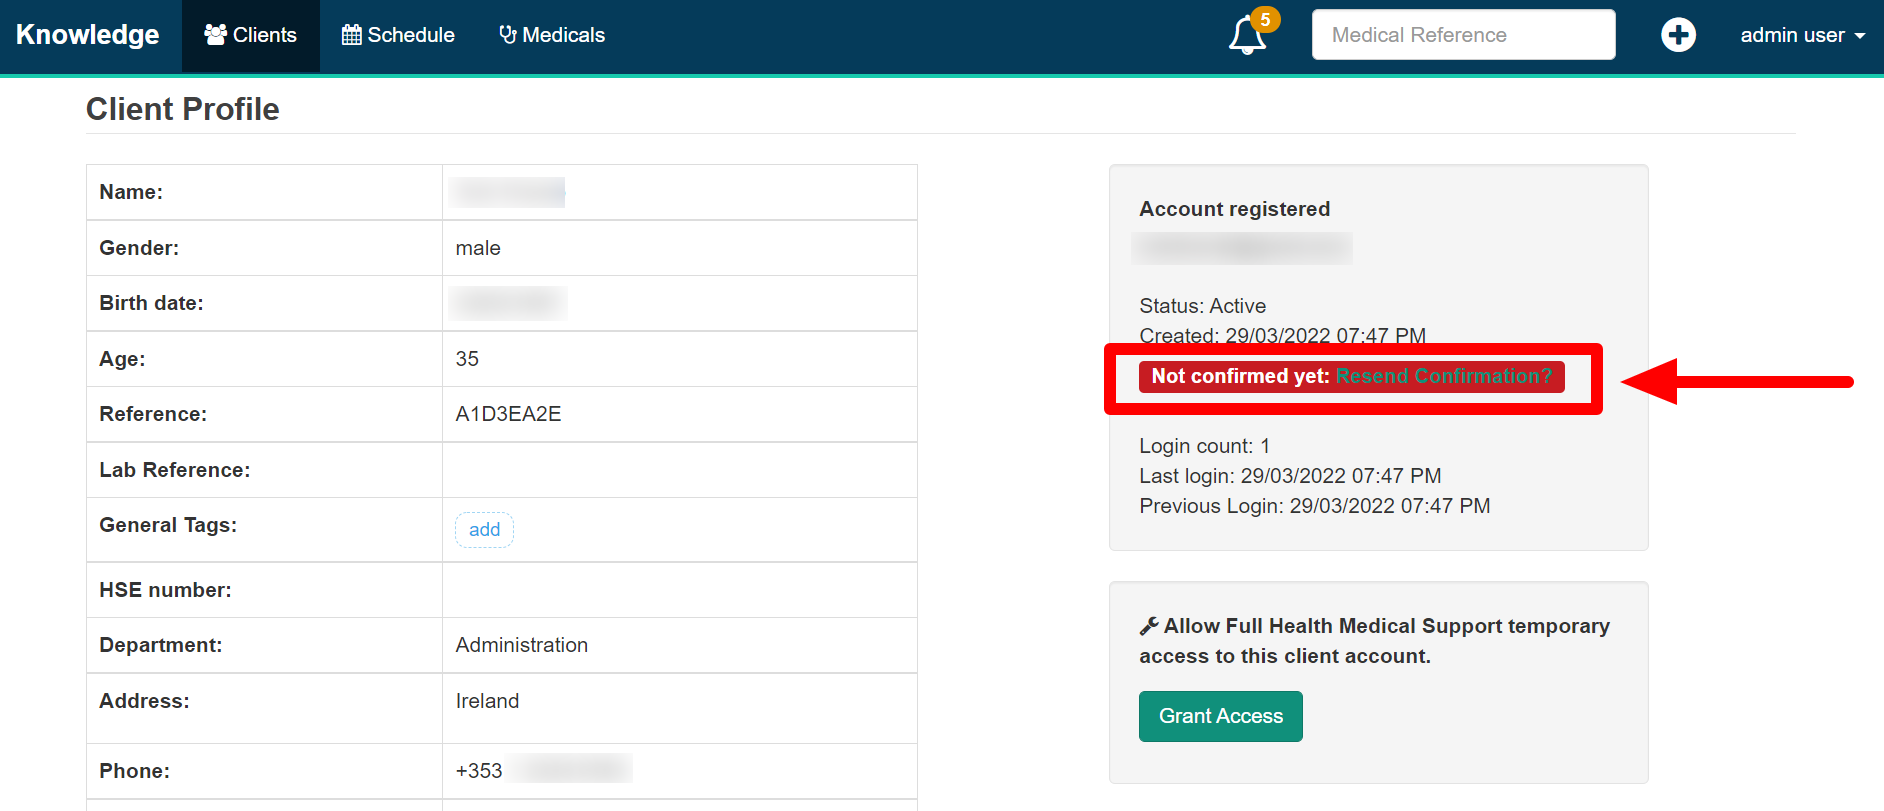
- Once an account is successfully confirmed, the date and time of confirmation will be displayed on the Client/Participant Profile page.